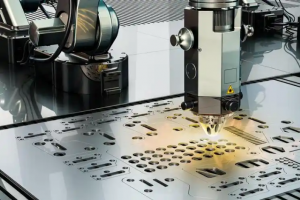
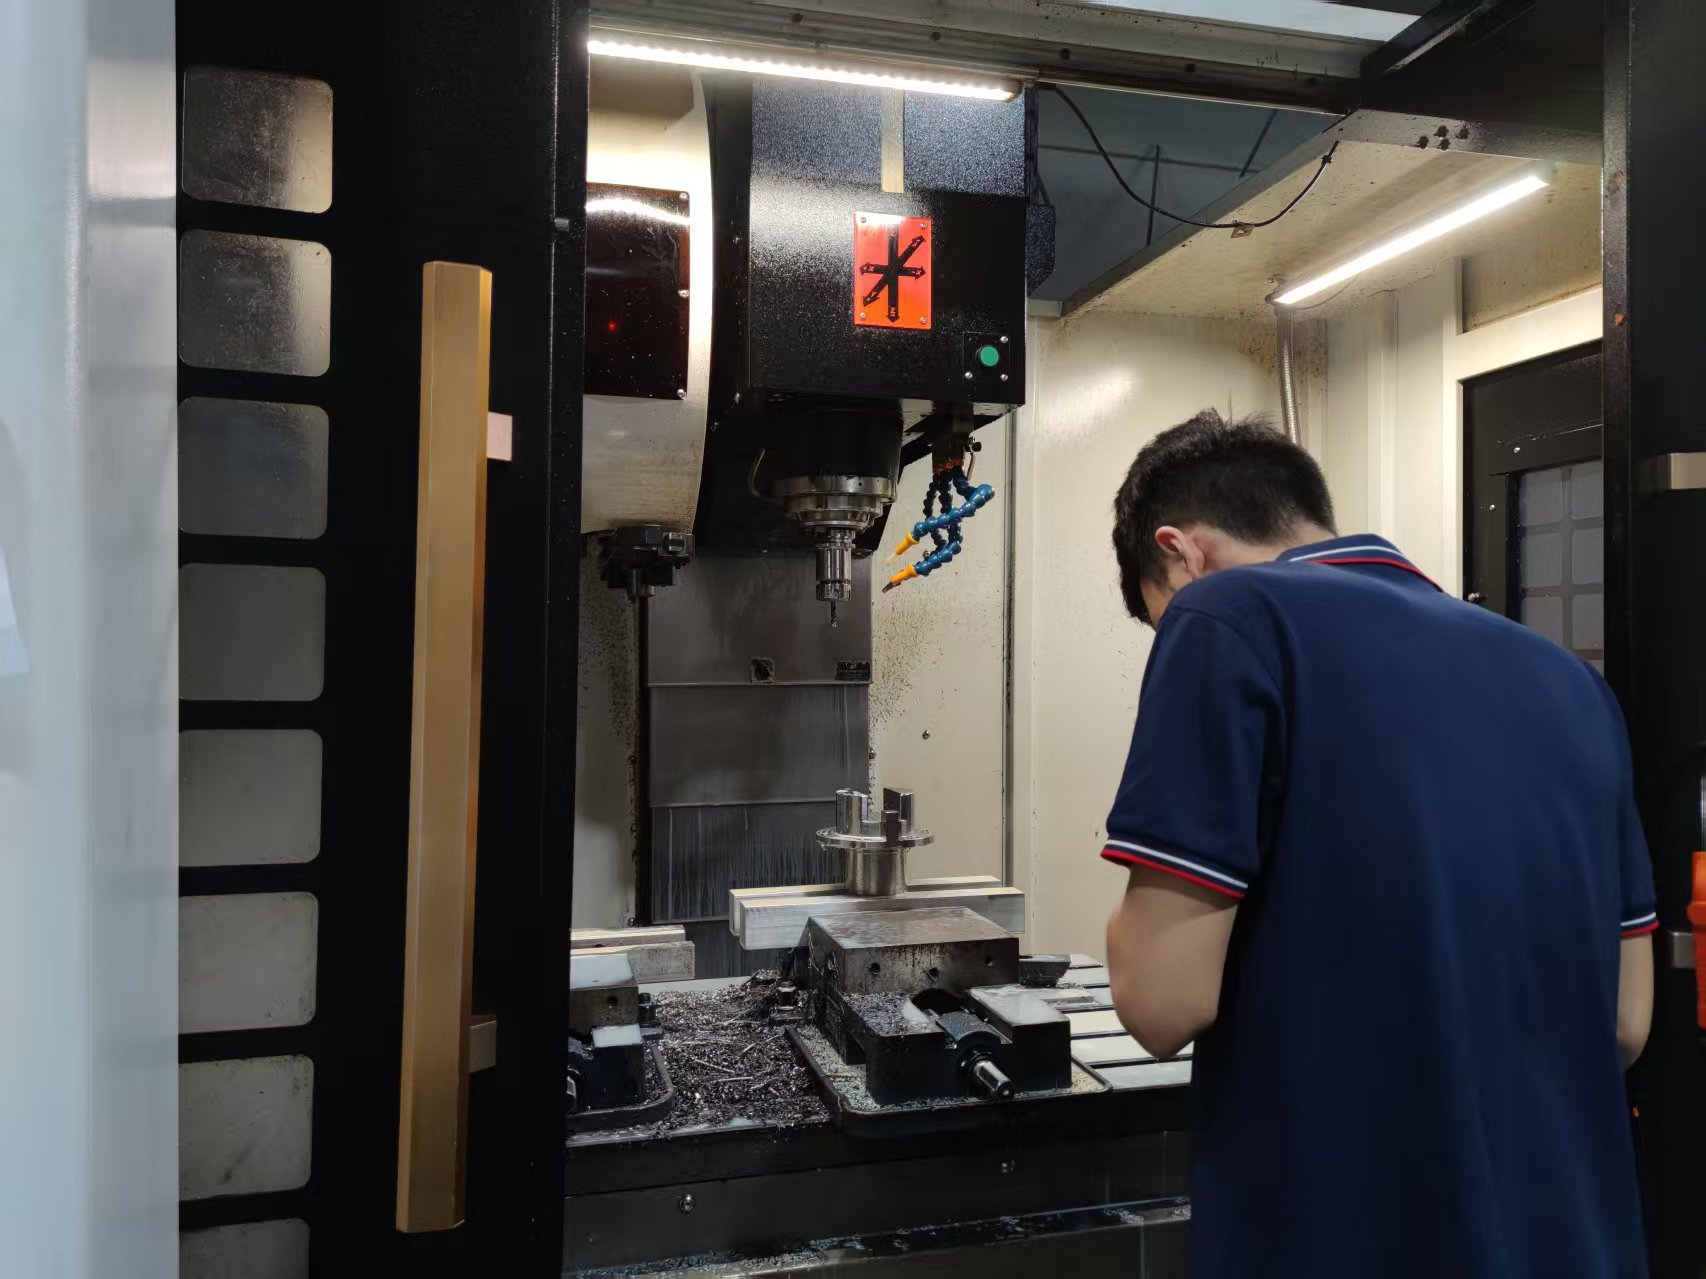
During tool changing in machining centers, the tool arm of the tool changing robot often gets stuck in the tool magazine. The main causes of this are: unexpected power outage (kinetic energy cut-off), insufficient air pressure, frequent tool changes, machining abnormalities, and mechanical wear of the tool changing components.
Below, we analyze the main causes of tool jamming in the robot and their solutions.
- Tool magazine cannot rotate. The coupling between the motor shaft and the tool magazine rotation shaft is loose. Tighten the coupling screws. PMC has no output. I/O interface board relay failure. Check the corresponding PMC contact signals.
- Tool magazine does not rotate into position. There is an error in the transmission mechanism. Adjust the transmission mechanism.
- The tool falls out of the robot. The robot’s clamping ring is damaged or lacks elasticity. Replace the clamping ring or readjust the tool. Overloading. Select the appropriate cutting tool.
- During tool exchange, the tool falls out. The robotic arm does not reach the correct position when grabbing the tool before pulling it out. Adjust the robotic arm so that the gripper firmly grasps the tool holder before pulling out the tool.
- The robotic arm’s tool changing speed is too fast or too slow. The tool changing cylinder pressure is too high or too low, or the tool changing throttle valve opening is too large or too small. Adjust the pressure or flow rate of the tool changing pneumatic circuit.
- The tool holder cannot clamp the tool. The adjusting screw on the tool holder is loose, or the spring is too loose, resulting in insufficient clamping force. Rotate the adjusting nuts on both sides of the tool holder clockwise to tighten the spring. The spindle box does not return to the tool changing point during tool change.
- Key points for protecting the tool magazine and tool changing robot:
1) It is strictly forbidden to load overweight or overlength tools into the tool magazine to avoid tool drops or collisions between the tool and the workpiece or fixture during tool changing.
2) For the sequential tool selection method, pay attention to the accurate order in which the tools are placed in the tool magazine. For other tool selection methods, also pay attention to whether the tool to be replaced is the same as the required tool to avoid errors caused by incorrect tool replacement. 3) When manually loading tools into the tool magazine, ensure they are properly and securely installed, and that the locking mechanism on the tool holder is reliable.
4) Regularly check the accuracy of the tool magazine’s zeroing position and the machine tool spindle’s return-to-tool-changing point. Adjust immediately if any problems are found; otherwise, tool changing will not be possible.
5) Keep the tool holders and tool sleeves clean.
6) Upon startup, run the tool magazine and robot arm idle to check for malfunctions, especially the limit switches and solenoid valves.
Check the pressure of the robot arm’s hydraulic system and ensure the tools are securely locked in the robot arm. Address any abnormalities immediately.
- Tool Magazine Malfunctions Common tool magazine malfunctions include: the tool magazine failing to rotate or rotating incompletely; the tool sleeve failing to clamp the tool; and the tool sleeve not reaching its designated height.
(1) The tool magazine cannot rotate or rotates incompletely. Reasons for the tool magazine not rotating may include: ① a loose coupling connecting the motor shaft and the worm shaft; ② a faulty frequency converter (check the inverter’s output and voltage for abnormalities); ③ uncontrolled PLC output, which may cause the relays on the interface board to malfunction; ④ overly tight machine connections; ⑤ low mains voltage. Reasons for the tool magazine not rotating completely may include: a faulty motor rotation or a misalignment in the transmission mechanism.
(2) The tool holder cannot clamp the tool. Reasons may include a loose adjusting screw on the tool holder, a loose spring resulting in insufficient clamping force, or the tool being overweight.
(3) The tool holder is not positioned correctly. Reasons may include improper assembly adjustment or excessive machining deviation causing inaccurate shift fork position; inaccurate limit switch device or improper adjustment causing incorrect response light signal.
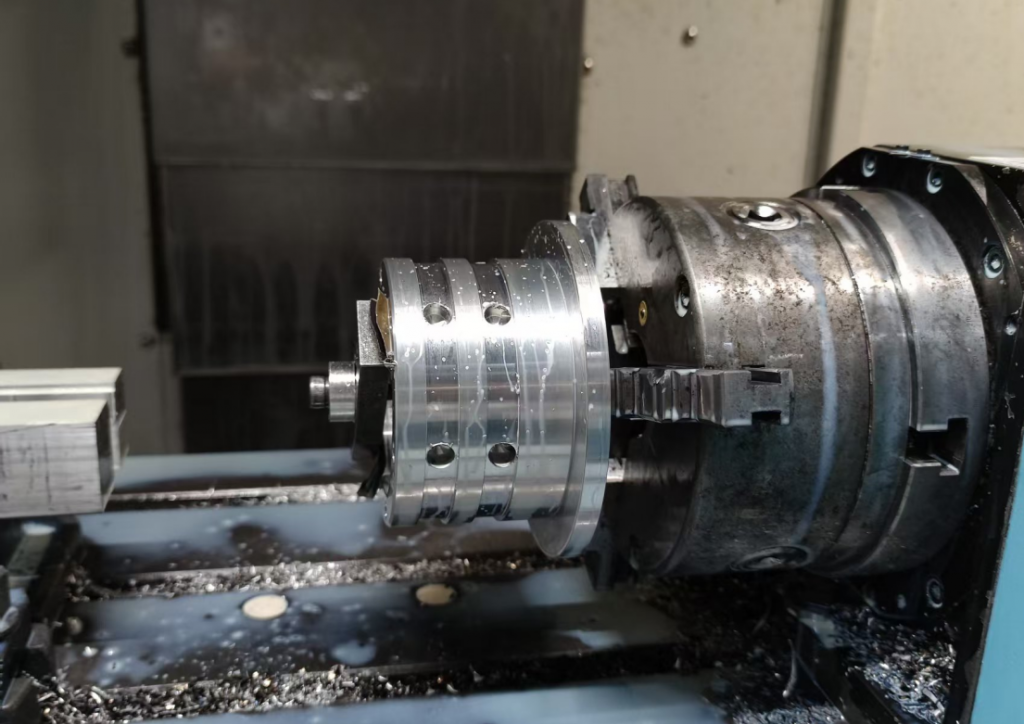
- Tool Changer Malfunctions
(1) Tool Dropping Due to Insufficient Clamping: Possible causes include insufficient clamping spring pressure, loose nut behind the spring, excessive tool weight, or malfunctioning clamping lock.
(2) Tool Retention After Clamping: Possible causes include excessively tight spring pressure, preventing the clamping jaws from retracting. The nut should be loosened to ensure the maximum load does not exceed the rated value.
(3) Tool Dropping During Tool Change: If the spindle box does not return to the tool change point or the tool change point drifts during tool change, or the tool is not properly positioned when the robot begins to pull out the tool, tool drop is likely.
In this case, the spindle box should be moved back to the tool change point position, and the tool change point should be reset.